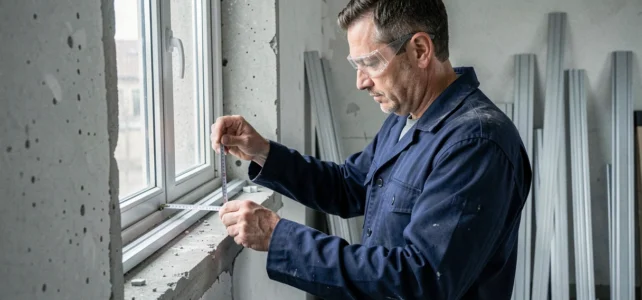
Installing an aluminum window at home without knowing the tolerances of the DTU 36.5 risks an invisible non-compliance for years, until the first incident occurs. The peripheral gap between the frame and the structural work, the choice of sealing, the spacing of the fixings: these technical parameters condition the waterproofing, insulation, and durability of the aluminum joinery far more than the act of screwing itself.
This article measures the discrepancies between common installation practices and actual normative requirements, to identify the points where a knowledgeable DIYer can intervene and those where the risk outweighs the gain.
DTU 36.5 and aluminum installation: the tolerances that tutorials overlook
The majority of online guides describe the installation of aluminum windows as a mechanical sequence (removal, shimming, screwing, foam). They overlook the numerical thresholds of the NF DTU 36.5, which are enforceable in case of dispute or damage covered by a ten-year insurance policy.
| DTU 36.5 Parameter | Required Value | Common Practice (tutorials) |
|---|---|---|
| Peripheral gap frame / structural work | 5 to 15 mm | Rarely measured, often filled with foam |
| Flatness tolerance of the frame | 3 mm maximum over the entire length | Checked with a level without precise measurement |
| Maximum spacing between fixings | 800 mm | Fixing “at the corners” without intermediate measurement |
| Distance from the first fixing point to the corner | 200 mm maximum | Sometimes respected by chance |
| Sealing sealing | SNJF class 12.5E/12.5P sealant or NF P 85-570 class 1 impregnated foam tape | Only expanding polyurethane foam |
The most common discrepancy concerns sealing. The DTU 36.5 explicitly prohibits using polyurethane foam as the sole sealant for water and air tightness. It requires a backing rod (PE or PU) combined with a certified SNJF sealant, or an impregnated foam tape compliant with NF P 85-570 class 1.
Mastering the installation of aluminum joinery step by step therefore involves checking each measurement before fixing anything, and choosing the right sealing product right from the purchase of supplies.
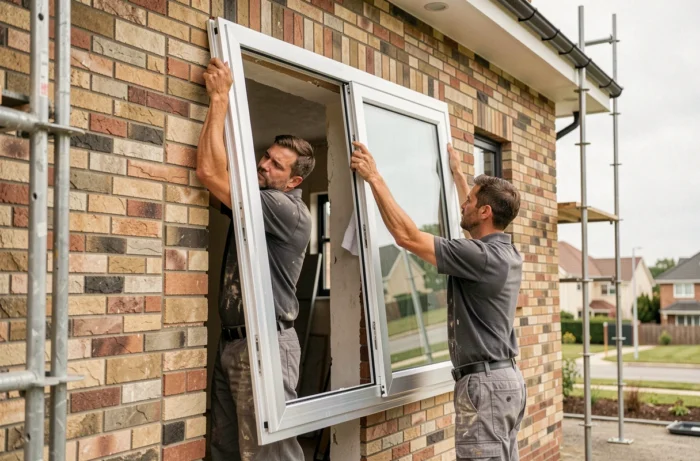
Renovation on existing frame or total removal: criteria for choosing aluminum
Two options compete when replacing an old window with aluminum joinery. Installing on an existing frame retains the wooden or PVC frame in place. Total removal takes everything down to the masonry.
Installation on existing frame
This method is faster and generates less masonry work. It is suitable when the existing frame is sound, stable, and square. However, it reduces the glazed area: the new aluminum frame fits into the old one, which decreases the daylight opening by several centimeters on each side.
Total removal
This option offers maximum daylight and allows for checking the condition of the reveal, lintel, and sill. It is the only option if the existing frame shows signs of rot, deformation, or if the peripheral gaps do not respect the 5 to 15 mm range imposed by the DTU.
- Old wooden frame swollen or rotten: total removal mandatory, no reliable fixing on degraded support
- Rigid PVC frame and square with less than 15 years: renovation installation remains viable if the measurements are compliant
- Large dimension aluminum joinery (sliding bay, French door): total removal is preferable to ensure the mechanical stability of the fixings in the masonry
The choice is not just aesthetic. An existing frame out of tolerance compromises the waterproofing of the new joinery, regardless of the care taken with the rest of the installation.
Waterproofing and insulation of the aluminum frame: costly mistakes
Aluminum conducts heat much better than wood or PVC. Modern aluminum joinery compensates for this drawback with a thermal break system integrated into the profile. The installation must not negate this advantage.
The first common mistake: using expanding foam alone does not guarantee either water or air tightness. It fills a void but does not constitute an elastic seal capable of accommodating the expansions of the aluminum frame. Over time, the foam retracts, and infiltration occurs.
The second trap: a peripheral gap that is too wide (greater than 15 mm). The sealing sealant then loses its elastic recovery capacity. The backing rod can no longer fulfill its supporting role. The only solution at this point is to redo the masonry of the reveal before installing the joinery.

The third overlooked point: the window sill must slope outward to drain rainwater. On a flat or inward-sloping sill, even a sealant compliant with the DTU is not enough to prevent capillary rise under the frame.
Self-checking after installation: the report that no one fills out
The DTU 36.5 requires a self-checking report for each installed joinery. This document verifies point by point the compliance of the installation: gaps, fixings, waterproofing, operation of the openings, hardware.
For an individual doing the installation themselves, this report has no contractual value. It remains a tool of rigor. Filling out a self-checking form after each window requires systematically checking the measurements, tightening, the operation of the opening, and the quality of the seal.
- Check the plumb and level of the frame (flatness tolerance: 3 mm max)
- Ensure that each fixing respects the spacing of 800 mm and the distance of 200 mm from the corners
- Test the complete opening and closing, without friction or abnormal play
- Visually inspect the continuity of the sealing joint around the entire perimeter
A rigorous self-check after installation detects defects before commissioning. Correcting a fixing gap or redoing a seal on the same day takes a few minutes. Addressing an infiltration two years later often involves removing the joinery.
The installation of aluminum joinery relies less on manual skill than on adherence to measurable thresholds. A frame installed within the tolerances of the DTU 36.5, with the right sealing and correctly spaced fixings, will last for decades without intervention. The most cost-effective action remains to measure before drilling.